
Are you seeking a new look for your home? Bare, varnished floorboards in the lounge, dining room and hallway are again becoming increasingly popular, with many young interior designers choosing to maximise the natural wood look. Not everybody has the tools they need to complete a job like this though. Here at PSM Hire, we pride ourselves on providing both domestic and commercial clients with all of the tools they need to carry out projects just like these.
Bringing a wooden floor back to its former glory is an easy, if somewhat dusty, job for anyone that is a little DIY savvy. If you're wondering how to sand wooden floors, read on.
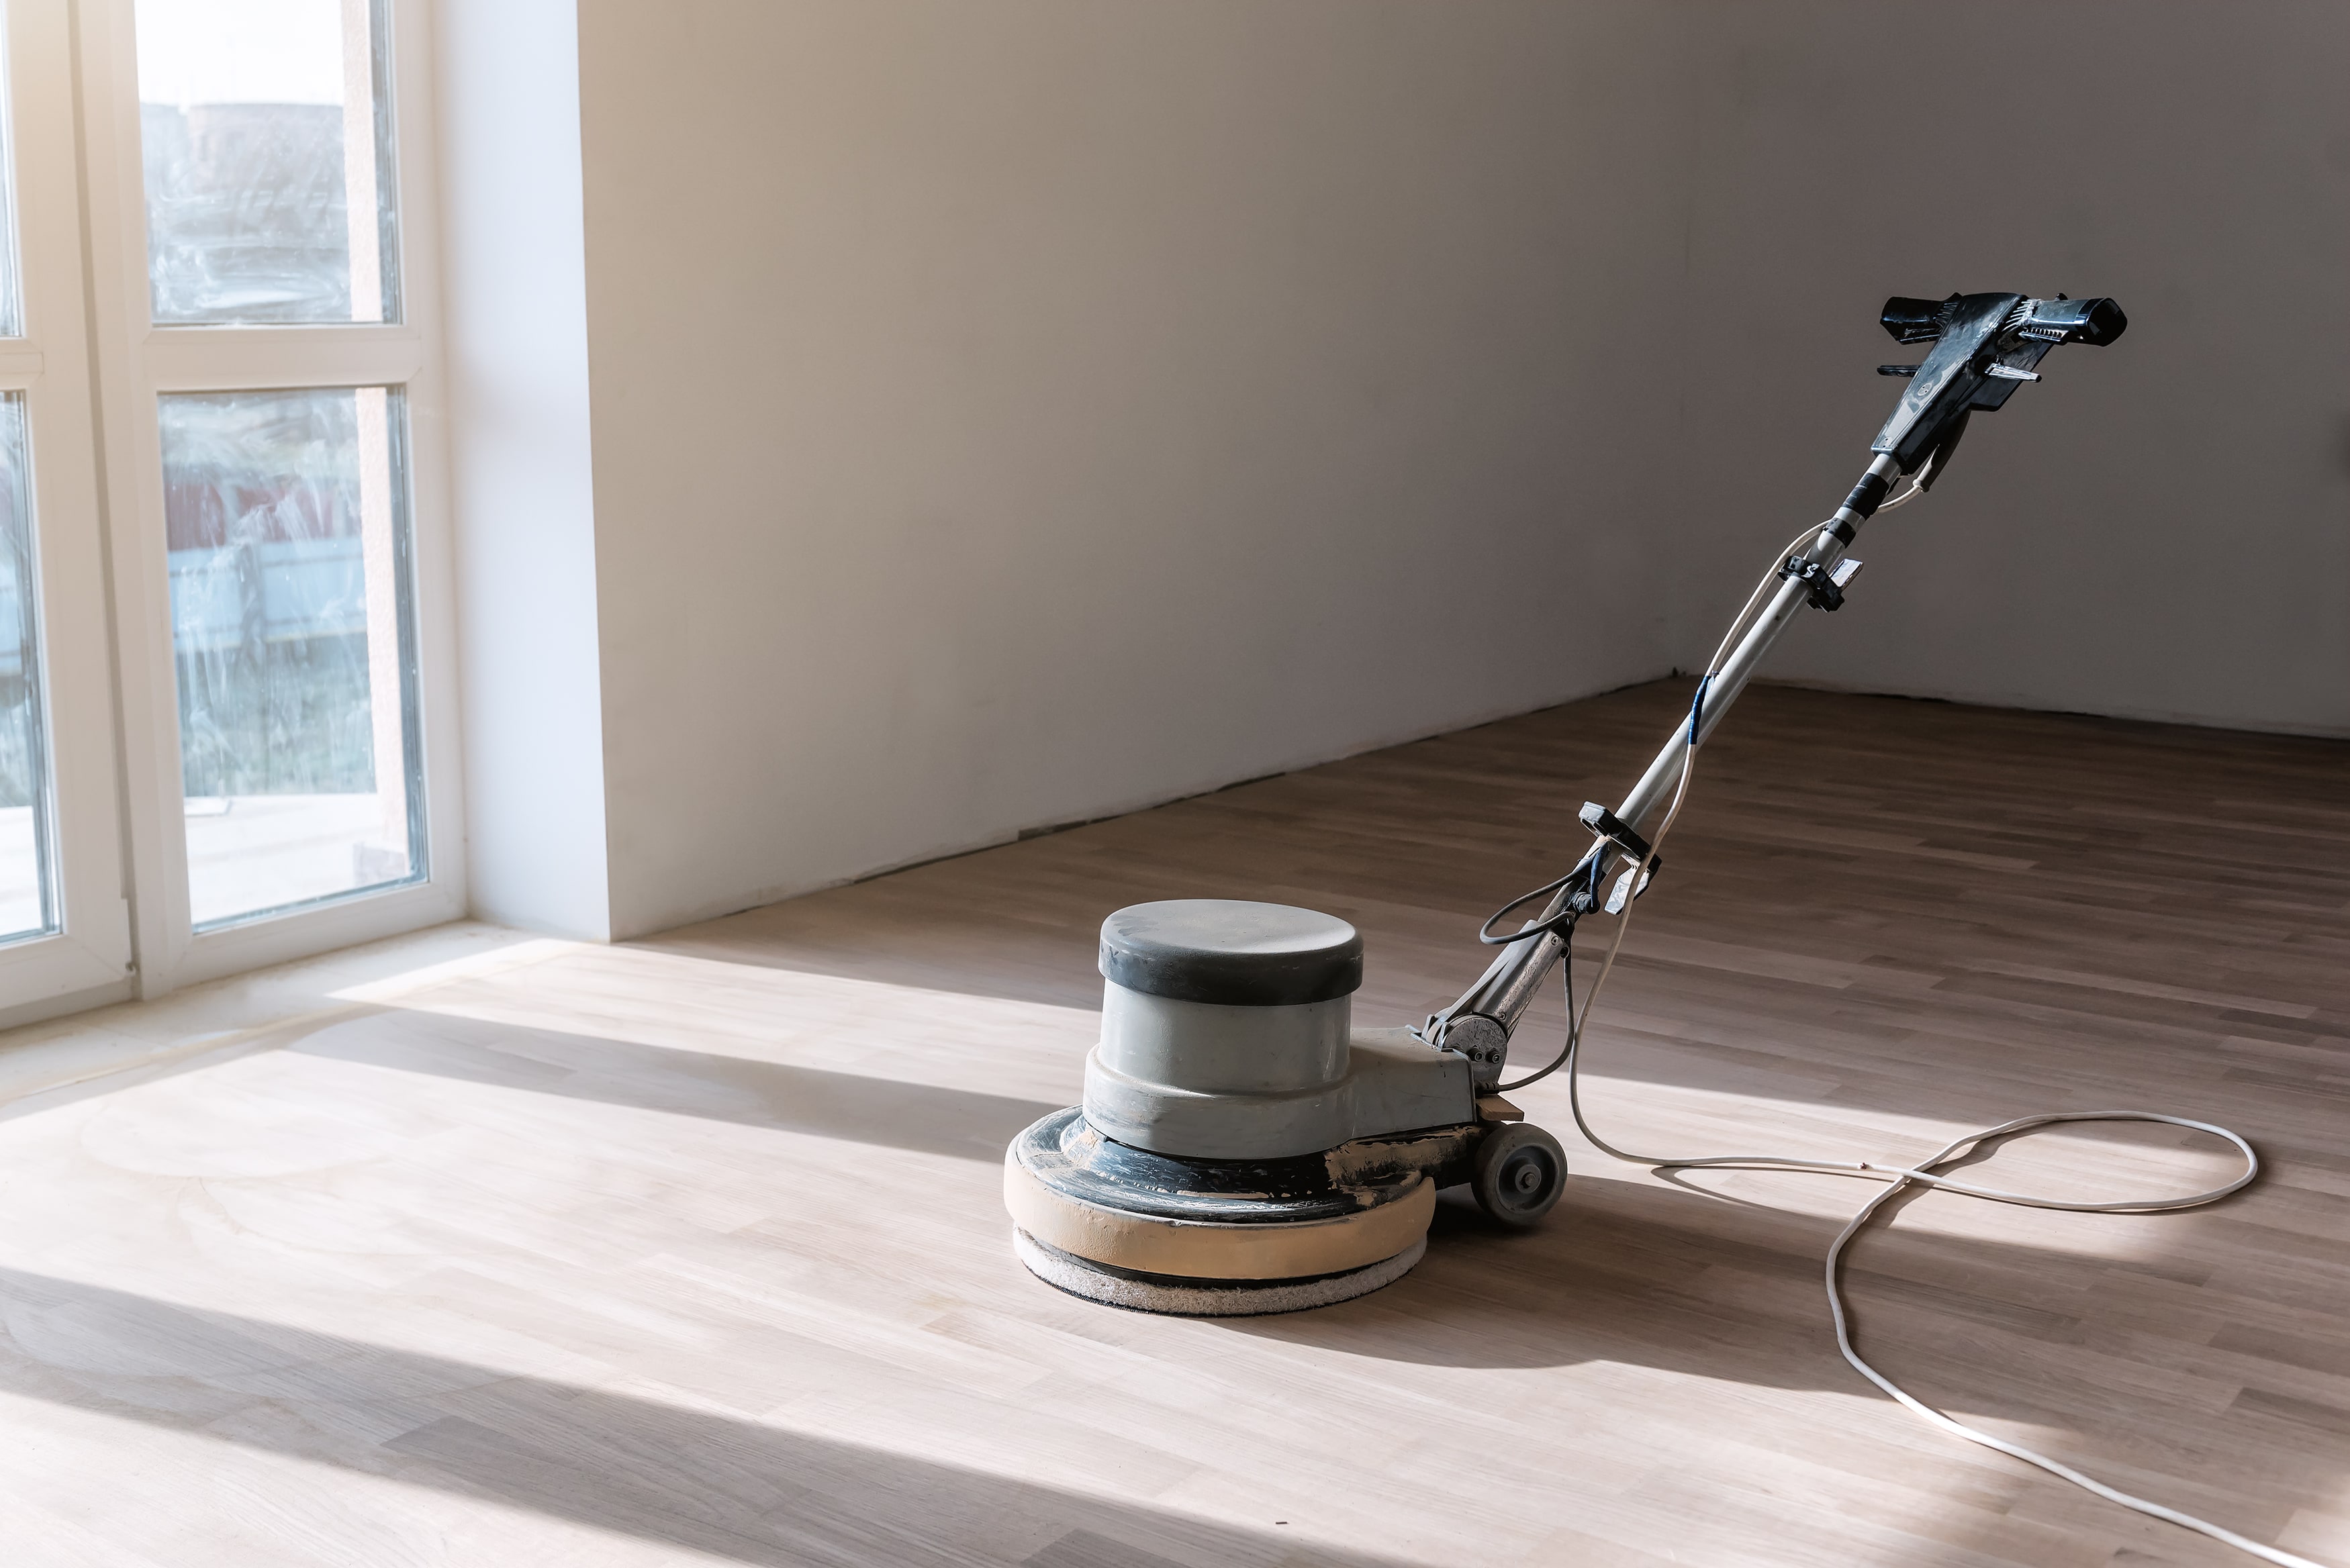
Which tools do you need for the job?
Take five, and jot down the tools you already have and those you think you might need. Then contact a local tool hire company, like our team here at PSM. One of our DIY experts will go through the list of tools you require and will be able to help you find what you're looking for. As we are not only experts in hiring out our tools, but also using them, our team will also be able to offer you any advice on which additional tools might be needed, or point out anything not required.
PPE equipment such as goggles, dust masks, ear plugs, and heavy duty gloves are a must, and can all be obtained from us here at PSM. It’s also not a job to undertake wearing flip-flops, so make sure you have a pair of thick-soled shoes.
We have a wide range of different heavy-duty electric floor sanders available, to make the job as easy and quick as possible. Take a look at our full range of products online, or give us a call to find out more.
Now, for some more information about the task at hand:
Totally strip the room.
Unfortunately, if you are living in the house, it is a job which will cause a certain amount of disruption, but the finished product will be worth it. Firstly, totally strip the room. Everything, dining or lounge furniture, sideboards, cabinets, and bookcases need to be stored somewhere else. Even ceiling lampshades should be removed if you don't want them covered in dust.
Next, remove any existing carpet, being careful not to spike your fingers or hands on the carpet grippers. Once the carpet is up, you can go round and prise the carpet grippers up using a claw hammer or big screwdriver. If you have a gap under adjoining doors, fill those using old towels or rags, to minimise the dust spreading into other rooms.
Check all the floorboards.
With everything removed from the room, it’s time to thoroughly check all the boards. Nails need to be punched at least 2mm into the floorboards, to avoid them ripping the sanding pads and discs as the top layer is removed. Bent nails should be removed and replaced with straight ones, and any loose boarding firmly re-nailed. Unless it’s a very old house, the floorboards will likely be tongued and grooved, so re-fixing any that have loosened should be straightforward. Finally, get the vacuum out and give the floor a thorough going over, to remove any missed nails, nail heads, or other debris.
With everything prepped up, it's time to get the sander out.
When discussing how to sand wooden floors with us, our team will suggest two types of industrial sander for ease of operation and quality of finish. An edging sander, so you can get up close to skirting boards, and a drum or orbital sander to cope with the main floor area.
Sanding should always take place following the grain of the wood. With tongued and grooved timber, that means following the lines of the planks. Divide the floor into areas of four or five square metres. Start off with the edging sander, using the coarsest sand sheets, then sand the open area using coarse paper with the orbital sander. With that section complete, break out the vacuum and suck up the dust, before moving onto the next area.
To get the best finish, start with a coarse 24 grit, and use four grades, finishing with a 150 grit fine sandpaper. A little time consuming, but worth the extra effort.
Finishing the floorboards.
Once the final pass has been completed, and everything meticulously vacuumed and wiped down to remove all dust, you can decide what type of finish you would like. You could apply your favourite shade of clear satin or gloss varnish. Use a high quality, marine type varnish for a long life and good looks. Much of the first coat will soak into the boards. For visual appeal and durability, apply at least three or four coats of varnish.
If you want to colour your floorboards, use a separate wood stain, and varnish over the top. This way any accidental chips will be varnish, with the colour beneath unaffected. Chipped coloured varnish is far more noticeable, as both varnish and colour have been chipped away.
With the varnish totally dry, all you have to do is replace furniture, and choose a couple of matching cushions and scatter rugs, to give your new look lounge that personal touch.
Contact Us Today
To find out more about the tools and equipment we have available, get in touch with a member of our team today.