
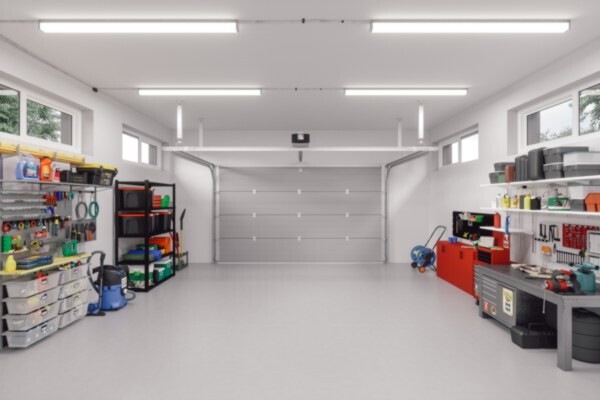
 If you're planning on upgrading your garage or perhaps giving it a facelift, one of the most important aspects is the flooring. Choosing the right finish for a garage floor can be tricky. Garage floors are exposed to a great deal of wear and tear, and this limits the types of materials that are suitable for this use. Concrete is probably the most commonly used material when it comes to laying flooring in a garage.
Why choose concrete?
Concrete is a durable material that can withstand heavy traffic, spills and abrasions. However, laying concrete requires a methodical approach, quality materials and the right tools. In our step-by-step guide, we'll walk you through how to lay a concrete floor and the tools you'll need to get the job done. If you would like expert advice on the best tools for the job, contact PSM Tool Hire on 02088 505 658.
Step 1: List and source all of your tools and materials.
You will need boots and gloves, hardcore, sand, polythene sheets, concrete mix, water, a compactor plate, a concrete mixer, rakes, shovels, a level, tamping tools and finishing tools. You may also require wooden boards for your formwork, these act as a barrier and contain your concrete mix to your work area. 25 mm thick softwood is ideal for this task.
Step 2: Prepare the area
Before you begin, you need to prepare the area where the concrete will be laid. Clear out any items that may be in the way, including debris, vehicles and tools. If you are removing a damaged floor you may need a breaker to dig up the old floor. Once the old floor has been removed, the surface should be levelled. Dig to a sufficient depth to accommodate your hardcore base, plus the concrete mix. Remember that poured concrete will sit 10 to 15 mm higher than set concrete. If you are including a run-off for water, calculate this now.
Lay and spread your hardcore base evenly using a rake. You may choose to dampen the hardcore slightly to help it compact.
Step 3: Compact the ground
Once you have prepared the surface, compact the area using a compactor plate. Compacting the ground will ensure that air pockets are removed and that the ground is firm underfoot. This will stop humidity penetrating and will prevent the floor from sinking or cracking in the future. Compact the hardcore and, if desired, add a layer of sand to penetrate into any gaps, then compact again.
Step 4: Profile your work area
Use wooden boards to profile at doorways or any other parts where the concrete may need to be contained. Hold these in place by attaching them to removable wooden pegs, driven into the floor. It is advisable to separate the floor into sections using wooden boards that can be removed afterwards. These sections should be one metre apart, this helps keep your poured concrete contained to smaller work areas. After this lay sheets of polythene to protect the concrete from humidity.
Step 5: Mix your concrete
There are numerous types of concrete mix available, each with different qualities and finishes. Shop carefully for the right mix for your project and be sure to ask for advice on how to lay a concrete floor with different products. When it comes to mixing, you can use either a petrol or electric concrete mixer depending on the size of the job. If you're planning on pouring a large area, a petrol-powered mixer will be more efficient. However, for smaller areas, an electric mixer will suffice. At PSM Hire, we offer both petrol and electric concrete mixer hire to cater to all your needs. Once you have your concrete mixer, it's time to mix your concrete. Depending on the size of your garage, you may need to mix multiple batches of concrete. You'll want to follow the instructions on the bag of concrete mix and mix the appropriate amount of water and mix. As a general rule, you'll need about six gallons of water per bag of concrete mix.
Step 6: Pour the concrete
After mixing your concrete, it's time to pour it onto the prepared area. Be sure to wear rubber boots, gloves and goggles. You'll want to start pouring the concrete in one corner and work your way out. Make sure to pour the concrete evenly and avoid creating any high spots or low spots. Once you have poured the entire area, use a rake or a shovel to spread the concrete evenly and fill any low spots.
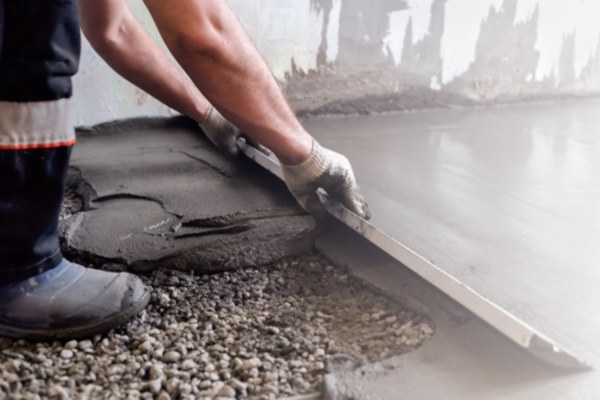 Step 7: Smooth the concrete
Now that the concrete is poured, you'll want to smooth it out. Check the instructions on your concrete mix. Different mixes require different setting times between pouring and finishing. You should tamp freshly laid concrete to achieve the most even spread possible. A tamper is a tool that you use to compact the concrete and remove any air pockets, and there are a number of specialised tamping tools available. Tamping by hand using a plank of wood is still widely practised.
For the final finish, you can find a range of finishing tools such as manual and petrol-powered floats, tampers and screed units. A screed unit is a tool that you use to level out the concrete and remove any excess. A float is a flat tool that you use to smooth the surface of the concrete and provide the final finish. Metal floats are used to obtain an ultra smooth, glossy finish. This is probably not the best choice for a garage floor as it needs to be non-slip. A wood or plastic float will provide a better result in this case, or you may choose to opt for a tamped surface instead.
Step 8: Let the concrete dry
After smoothing out the concrete, you'll need to let it dry. This can take anywhere from one to three days, depending on the temperature and humidity. You may want to cover your concrete floor with polythene to stop it drying out too quickly and cracking. It's important not to walk on the concrete until it's completely dry, and it’s a good idea to keep an eye on household pets during this time, as they will almost certainly be waiting on the sidelines to run all over the freshly finished floor the very second you turn your back.
Step 9: Apply a sealer
Depending on the mix you have chosen, you may want to apply a sealer to protect the surface. You can use a brush or a roller to apply the sealer evenly. Make sure to follow the manufacturer's instructions and apply the appropriate number of coats. Applying a sealer will prevent stains and damage to the concrete and keep it looking new for years to come.
Step 10: Put everything back
Congratulations! You are ready to enjoy your new garage floor. Celebrate by putting your lawnmower, bikes, tools and other junk back in the garage before your neighbour steals it or your wife leaves you.
Choose PSM Tool Hire.
Now you know how to lay a concrete floor, why not speak to PSM Tool Hire to hire a concrete mixer?
At PSM Hire, we offer a range of tools and equipment that you can use for your concrete project, including petrol and electric concrete mixers, finishing tools such as manual and petrol-powered floats, tampers, screed units and compactor plates. We also offer expert advice and support to help you choose the right tools for your project and ensure that you get the job done right. If you're planning on concreting your garage floor or any other concrete project, get in touch with us at PSM Hire. We're always here to help and support you with all your tool hire needs. Call us on 02088 505 658 and speak to one of our knowledgeable team members today.