
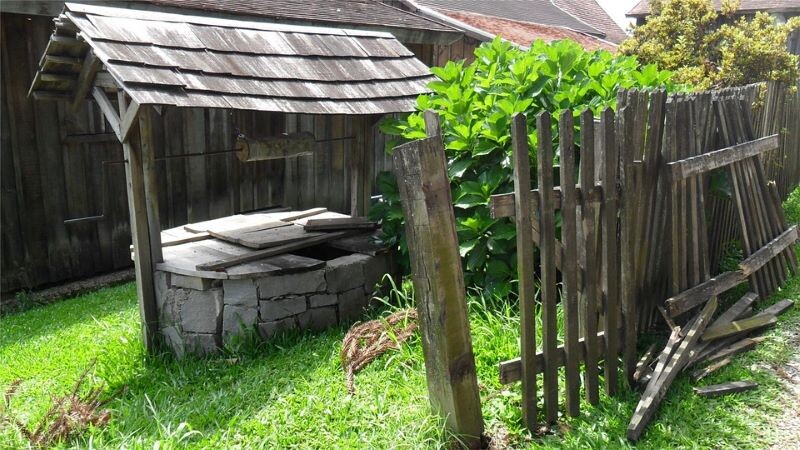
 With the winter months steadily creeping up on us, the risk of strong winds continues to increase. Wooden fence posts and panels can be prone to weather damage and, when they do require repairs, it’s crucial that you do so as quickly as possible to ensure no further damage. Here, we offer an expert guide on how to repair wooden fence panels. We include how to remove them, fix them, and the important steps you need to take to ensure they are strong enough to combat future damage.
At PSM Hire, we offer a range of tools and equipment, sure to make light work of any fence post repair. If you want to learn more about our vast selection of landscaping, cutting and fixing tools, please get in touch. Call us on 02088 505 658 and speak to one of our helpful advisors today.
Tools You Need to Repair a Broken Fence Post
Before you attempt to carry out a DIY fence post repair, it’s vital that you are equipped with all the right tools for the job.
Electric Drill
The first and, arguably, most crucial tool you’re going to need is an electric drill. Whether you’re drilling holes in a post or screwing multiple components together, this versatile piece of equipment is a crucial addition to your toolbox. At PSM Hire, we stock a range of cordless drills, from the Hitachi Rotary Hammer Drill to BOSCH Electric Screwdrivers. To enquire about any of the tools listed in our extensive fleet, please get in touch.
Auger
If your repair requires the disposal and replacement of current fence posts, an auger will make light work of digging new holes. Equipped with a 200m auger bit, and fitted with an automatic brake system, petrol augers offer the ideal solution.
Drill Bits
Garden fences are commonly assembled using a variety of screw types. From square-head to star-head screws, the last thing you want to do is find yourself halfway through the job without the one type of drill bit you need. Stock up on a variety of drill bits before you take on the task to save yourself the momentary panic.
Hammer
No toolbox is complete without this handy piece of equipment. Remove old nails from your fencing quickly and efficiently by using a hammer. Did you know, at PSM Hire, we provide a range of general construction tools and equipment for hire? From shovels and wheelbarrows to hammers and rakes, we really do have every base covered. Find out more about our affordable hire rates by giving us a call today.
How to Repair a Fence Post
So, we’ve compiled a list of all the relevant tools and equipment we’re going to need. Now it’s time to get started on your fence post repair.
1) Detach Fence From Damaged Post
Wooden fence posts will weaken and rot over time. They will most likely break at the strongest stress point, causing the adjacent panels to lean slightly. In order to repair the fence, you’re going to need to start by detaching the usable fence panels from the damaged post. Tap the fence panel with a hammer in an upward motion, then tap the bottom of the panel rails using the same technique. Lift the panel up and set it to one side. Repeat this step for the panel on the other side of the damaged post.
2) Dispose of Old Fence Post
The next step is to pull out the old post ready for replacement. Rock the post back and forth. If you can push it at least 90 degrees, you should be able to swiftly pull it out. If you’re having trouble, try digging around the base using a shovel. When the base is loosened, try pulling it out of the ground once again.
3) Dig a New Hole
Once you have successfully disposed of the old fence post, it’s time to create a hole for the new one. We recommend digging the hole to a depth equaling ½ of the post's ground height. You should ensure that the diameter of the new hole is 3x the size of the diameter of the post.
4) Add Gravel
If your new hole has no gravel, ensure to add a significant amount to the bottom of the pit.
5) Insert New Post
Now, it’s finally time to insert your new post. Place it into the hole, ensuring it remains upright and feels secure.
6) Fill the Hole
Once you have made sure that your new fence post is in the correct position, you can then fill the hole with quick-set concrete. Ensure to add clean water on top of the concrete and allow it to cure for an hour.
7) Attach Fence
The final step to repairing a broken fence post is attaching your existing fence to the new post. Fasten brackets onto the new fence post, along with the two existing ones. Place the panel in the brackets, securing it with nails or screws.
So, now that you know how to repair a broken fence post, why not take on the task yourself?
If you would like to find out more about our equipment hire services, or wish to enquire about the best tools for a DIY fence post repair, please get in touch. Call us on 02088 505 658 and speak to one of our knowledgeable team members today.