
Want to know how to renovate your driveway? Follow this step-by-step guide for a driveway that will stand the test of time.
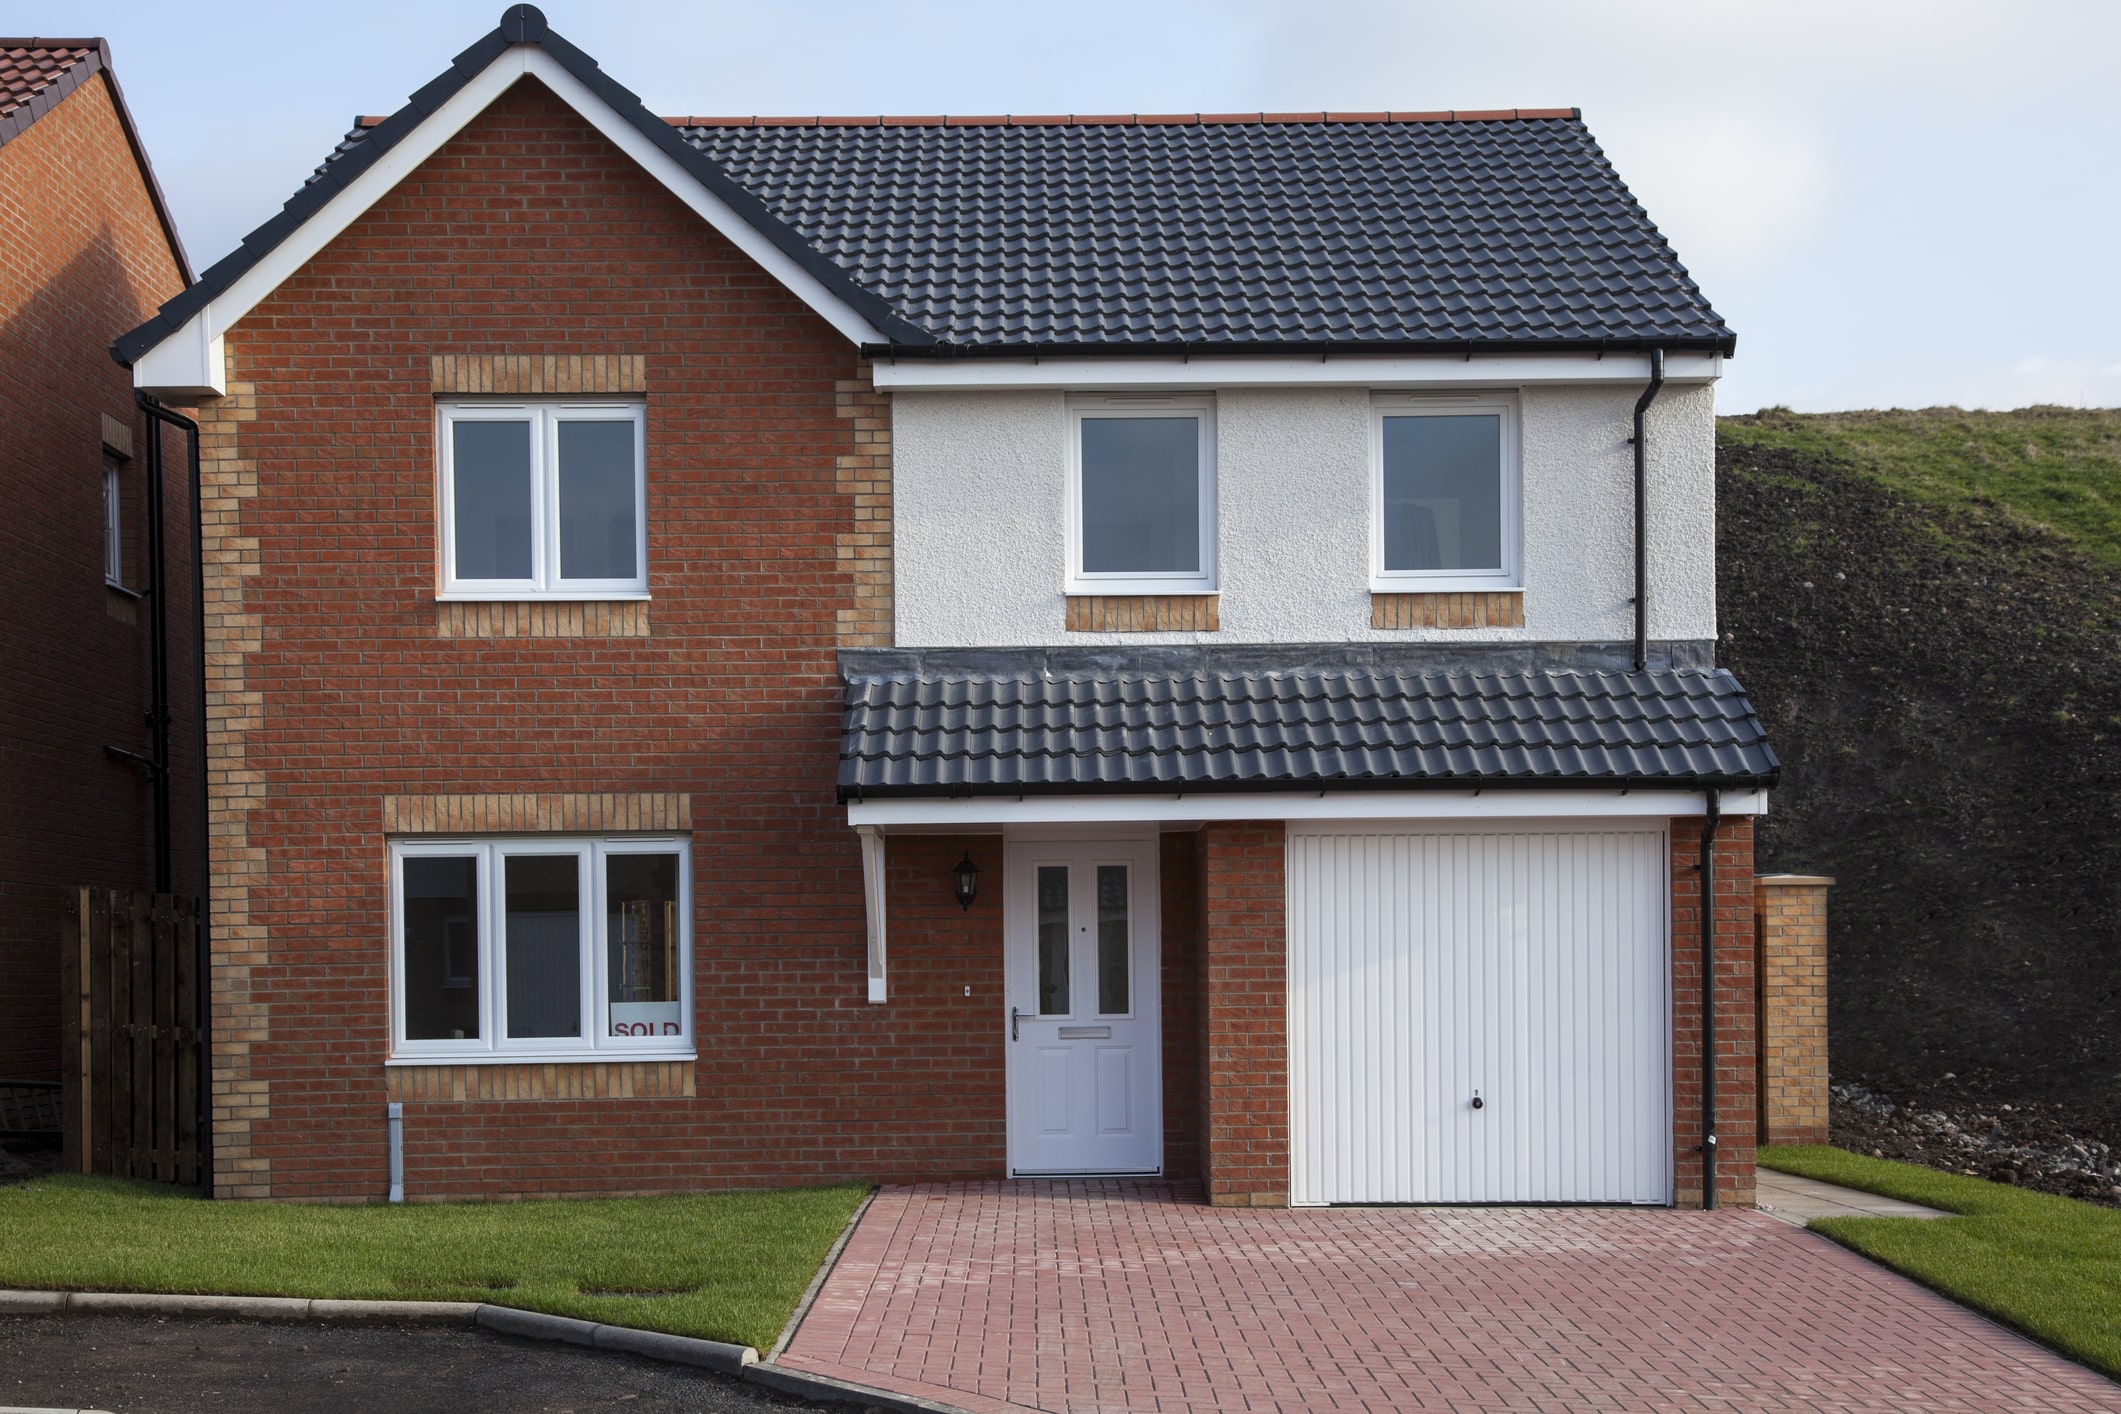
If you’re thinking about investing some money in home improvements, take a hard look at your front garden. Converting that few square metres of wilderness into a vehicle hardstanding, driveway, or house-front patio comes with a number of positives. It will increase the value of your property, make it more saleable, and improve that all-important kerbside appeal.
How to renovate your driveway – Planning the job
Things to consider. If you intend to construct a driveway, measure the width of your car, then add at least another metre, to allow some walking space past the vehicle.
If you’re considering a hardstanding, ensure it is large enough to allow you to manoeuvre the vehicle completely off the public highway or footpath. Finally, when measuring out the area, you want a square or rectangle (all corners at 90 degrees). Fancy patterns or curves will incur more time and expense cutting extra slabs or pavers to fill the void.
First, draw your design on a piece of paper and pencil in the measurements. Then clearly mark out the area that needs to be excavated, making sure you’ve got your 90-degree angles.
Excavating your plot
Make sure you’ve got your waste skip on site. If your choice is a patio to hold pots of summer flowers and shrubs, then you only need to dig to a depth of 180mm (7”), if you want a vehicle driveway or hardstanding, you’ll need to go to a depth of 250mm (10”), to allow for the extra weight. You also need to factor in a fall, (usually from the house end), to allow adequate water run-off. The building industry norm is 1 unit of drop, for 80 units of distance. For example, a 10m wide patio will require a drop of .125m, or around 12cm.
If all that digging sounds a bit off-putting, PSM Hire has a selection of mini-excavators that will complete the task in minutes, rather than hours. Once you’ve reached the desired depth (don’t forget the fall) use a vibrating compaction plate to compact the loose soil. Good effective compaction from the soil is the key to a successful, long-lasting driveway or patio base.
Adding a membrane, building the base
To minimise any risk of weed roots penetrating your hardstanding from underground, lay a good quality anti-weed stabilising membrane. With the membrane in place, you can add your hardcore. For best results use the Ministry of Transport (MOT) Type 1 hardcore. A mix of large, predominately limestone aggregates, building and quarry waste, and crushed rock and gravel, it is more expensive than standard hardcore but provides a considerably superior base.
For a patio base, 100mm should be laid, for a hardstanding or driveway lay 150mm. Use a compactor or whacking plate to compact the hardcore as you go, to ensure maximum compaction. Make sure your drainage fall-off has been maintained.
At this point, you can lay edge or curb blocks to any open ends that don’t butt up to an existing wall. These need to be securely fixed using a wet mortar mix, to ensure the laid blocks are held firmly in place.
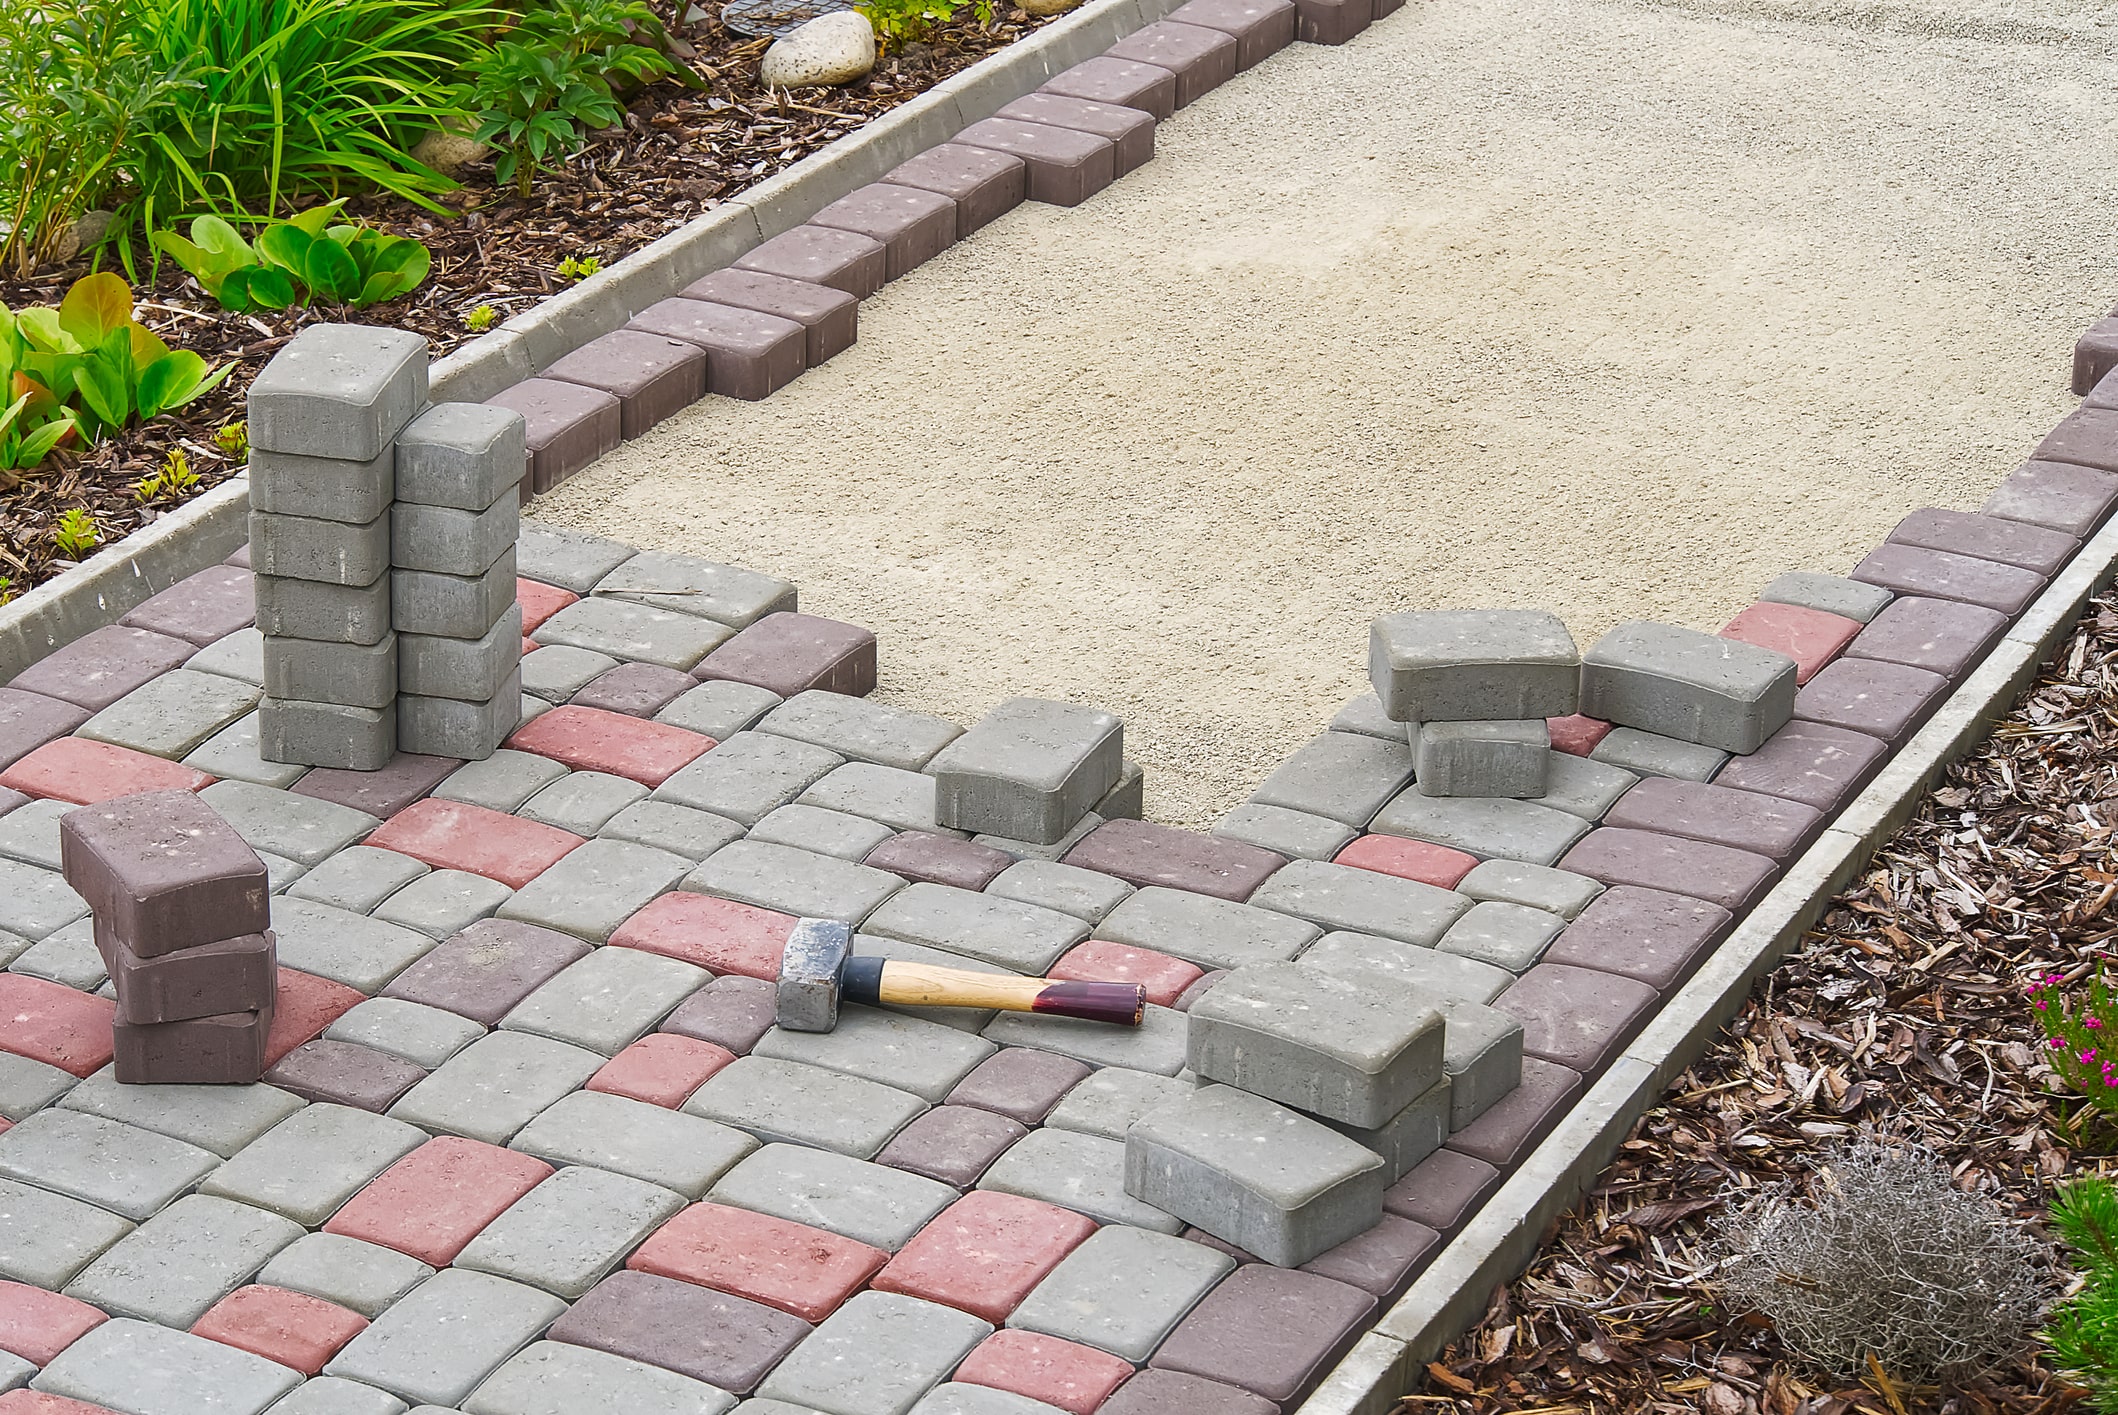
Laying your paving
Patio and driveway materials range from loose gravel and pebbles, to concrete, tarmacadam, paving slabs, block pavers, and resin bonded coloured gravels, but whichever you choose, the base should still be prepared as above.
If laying a patio, spread a layer of sharp sand to a depth of 30mm, if a hardstanding or driveway is being built, make it 50mm deep, and ensure it is fully compacted. Large, 50mm square slabs, should be laid using a dob of wet mortar on each corner and the centre. Use a metre long builder’s level, or length of 50mm timber to check your levels, and bed-in with a rubber headed mallet.
Small slabs and blocks can be laid directly on your sharp sand, and again levelled and adjusted as above. Make sure you’ve retained your drainage slope.
Brush a layer of kiln-dried sand (not sharp sand) into the gaps between your pavers, and use your compactor to bed the whole in.
Finally, the joints need to be pointed up. Use one of the new resin-based jointing compounds. Mix and brush into all the joints, then sweep off any excess. Resin-based compounds are far more durable than conventional mortar mixes, and not so prone to the weather-induced shrinking and cracking of sand and cement joints.
For all your hard landscaping and gardening needs, PSM Hire stocks a range of equipment and tools to make the job as easy and problem-free as possible. Take a look at our products in more detail to find out more, or contact us for more information.